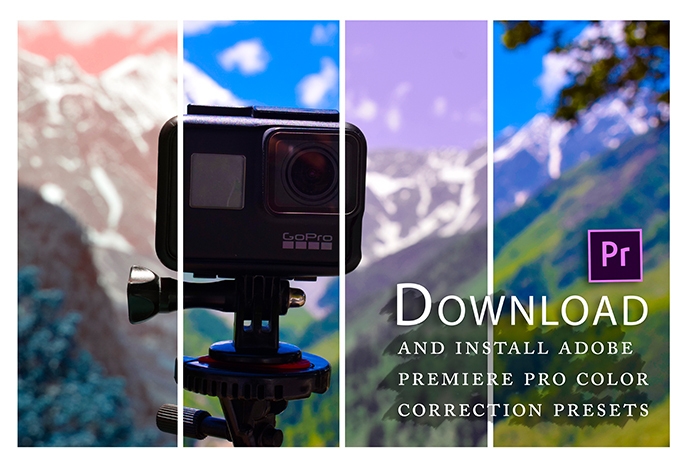
Download and install the free Adobe Premiere Pro color correction presets
Adobe premiere color correction presets can make your film making excellent. Are you a filmmaker who creates high-value videos in terms of quality and display? Or are you a beginner in the content creator and looking for presets through which you can directly adjust the coloring of your videos?
Whatever your work is, color grading and correction are essential for people, especially those in film production or creating videos. Suppose you are hoping to take a look at your production quality to the next level. You will find the adobe premiere color correction presets is a perfect choice for you.
Using these color correction presets will help you create videos to their full potential in terms of quality and create cinematic and dramatic footage to grab your audience’s attention.
What can you expect from this article?
- Get a quick introduction to color grading.
- How to install lumetri presets for free.
- The best free lumetri presets for color correction to give your film a complete cinematic look.
What does color correction or grading include?
Color grading here does not refer to simply adding filters as we do on Instagram pictures. In the process of color grading, we change or improve the appearance of the video by altering its current coloring. It involves editing various attributes of video quality like contrast, color, saturation, shadows, detailing, white balance, and much more.
Using adobe premiere pro color correction presets, you can completely transform your regular colored footage into a dramatic and cinematic masterpiece. Enhancing the look of your footage makes your audience feel attracted and fills you with pride while showing it to your friends or family.
How to install the free adobe premiere color correction presets lumetri presets for free?
As you know that you can use the free vintage color grading presets to give your video that indie-film look and feel. Now is the time to download and install these adobe premiere color correction presets.
Initially, these preset were created for short films, motion graphic projects, and style pieces in video footage. Still, different presets are made for other purposes, as separate presets for shooting on DSLR or mirrorless cameras.
But if you have low tech knowledge or are still wondering if it is challenging to install these presets, don’t worry. This adobe premiere color correction presets are the fast and hassle-free way to give your project a blockbuster look. If you don’t believe then follow the steps given below and discover how easy it is to install them:
Install lumetri presets for free.
- Before following the installation steps, download the zip file, which includes incredible lumetri presets Adobe Premiere Color Correction Presets Download from here.
- You will see the .zip file after you have downloaded it. You have to unzip the PremiumBeat Hollywood Lumetri and Looks and extract the files from it.
- Now right click on the Premiere Pro folder and click on open.
For mac users: Open the new finder window and from here go to applications. There you will find Adobe Premiere Pro CC, click and open it.
For Windows users: Go to the disk C:/ folder and open program files. There you will find the Adobe folder, open it and then click on Adobe Premiere Pro CC.
- After opening it, open the contents folder and from there open up the lumetri folder.
For mac users: Click on the Adobe Premiere CC while holding the command button down. Then select Show Package Contents, click on the contents icon to open it, and then open the lumetri folder.
For Windows users: Under the Adobe Premiere Pro CC folder, you will find the Lumetri folder. Open it.
- Double click on the Looks folder to open it and then open the Cine Looks folder.
- Now head over to the PremiumBeat Hollywood Lumetri Looks folder from where you have to drag and drop the free lumetri .look files into the Cine Looks folder.
- Now restart Adobe Premiere Pro by going out of the program and reopening it.
- After this, open your project file and then open the color tab.
- Choose the clip you want to color grade and bring it to your timeline. Now go to the creative account.
- You will see the Look drop-down menu, click on it and then select the Lumetri look of your choice.

What are the top free lumetri presets?
Easy. Wasn’t it? Following these steps will help you install the adobe premiere color correction presets quickly and use them to give a dramatic look to your project. You can use these presets at no cost for both personal and commercial purposes.
Hollywood Lumetri Looks: This preset gives an extra edge to your flat-colored footage. It further enhances the texture and quality of your video footage. This is one of the fastest ways to transform your footage into a filmy cinematic masterpiece.
Wanderlust: if you are a travel blogger or Youtuber, or filmmaker, this one is for you. It gives a fantastic smooth look to your videos with an unsaturated edge. You can see the enhancement in the dimensions of the video after using the preset.
Go and grab your audience’s attention.
This Adobe premiere color correction presets are the complete makeover and ultimate glow-up for your footage. Either using them for elevating the pixels or display of your film or using them as a quick reference for a look you wish to create in the edit, these presets are the best solution.
These one-click presets can do wonders for your film by transforming them from regular straight-from-the-camera video into dramatic and cinematic footage. This is why you should not delay and begin installing the adobe premiere color correction presets.
If you get stuck in any of the installation steps, feel free to drop in your queries related to these templates on our website or our social media platforms. We are excited for you to draw the audience’s attention to your films using these presets, especially if you are a Youtuber or filmmaker.


